NUUUS: A News App For Teenagers
The brief
“Teens don’t care about the news.”
For a long time, this was the mantra at the news department of the Belgian public broadcaster, VRT. But the media usage of youngsters had changed, and VRT Startup, the department in charge of challenging the VRT’s daily processes, wasn’t convinced this adagio was still true. So, together with Hans Dreessen, my colleague UX designer, we prototyped and tested a news platform for youngsters.
Step 1: Qualitative and desk Research

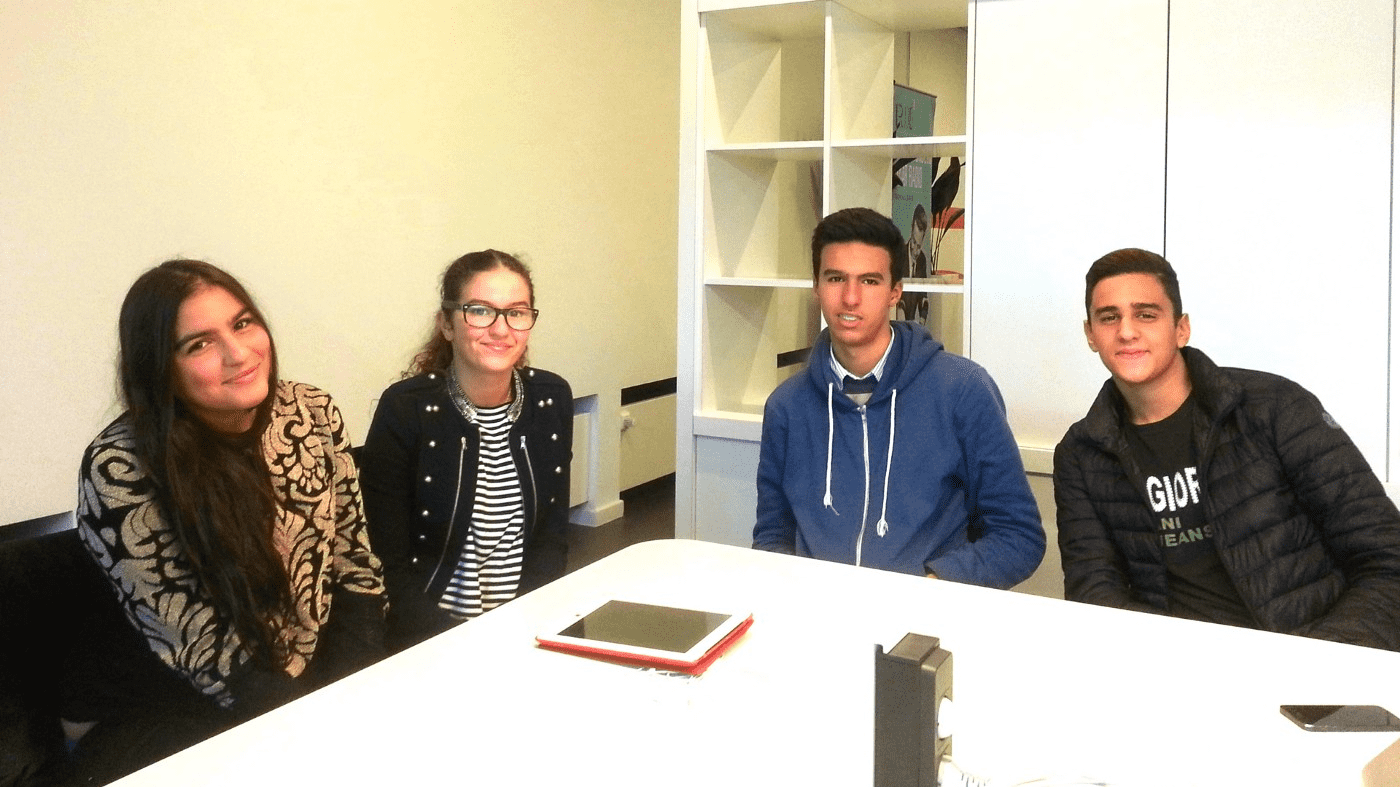
We talked to teenagers from 12 to 18, visiting 15 schools, from all over Flanders. We talked with them, quizzed them on their knowledge of current affairs and tried to find out what were the topics they were more interested in. They told us they wanted to be able to talk about the hot news topics, but lack of broader knowledge of the subject made it difficult for them to have a serious conversation. So there was an indication that a news app could work, as long as we help them become more confident talking about the news topics of the day.
At the same time we read up on usage of (social) media with teenagers, mainly using the excellent “Apestaartjaren”, an organisation that researchers youngsters and their media usage.
Step 2: Smoke Screen

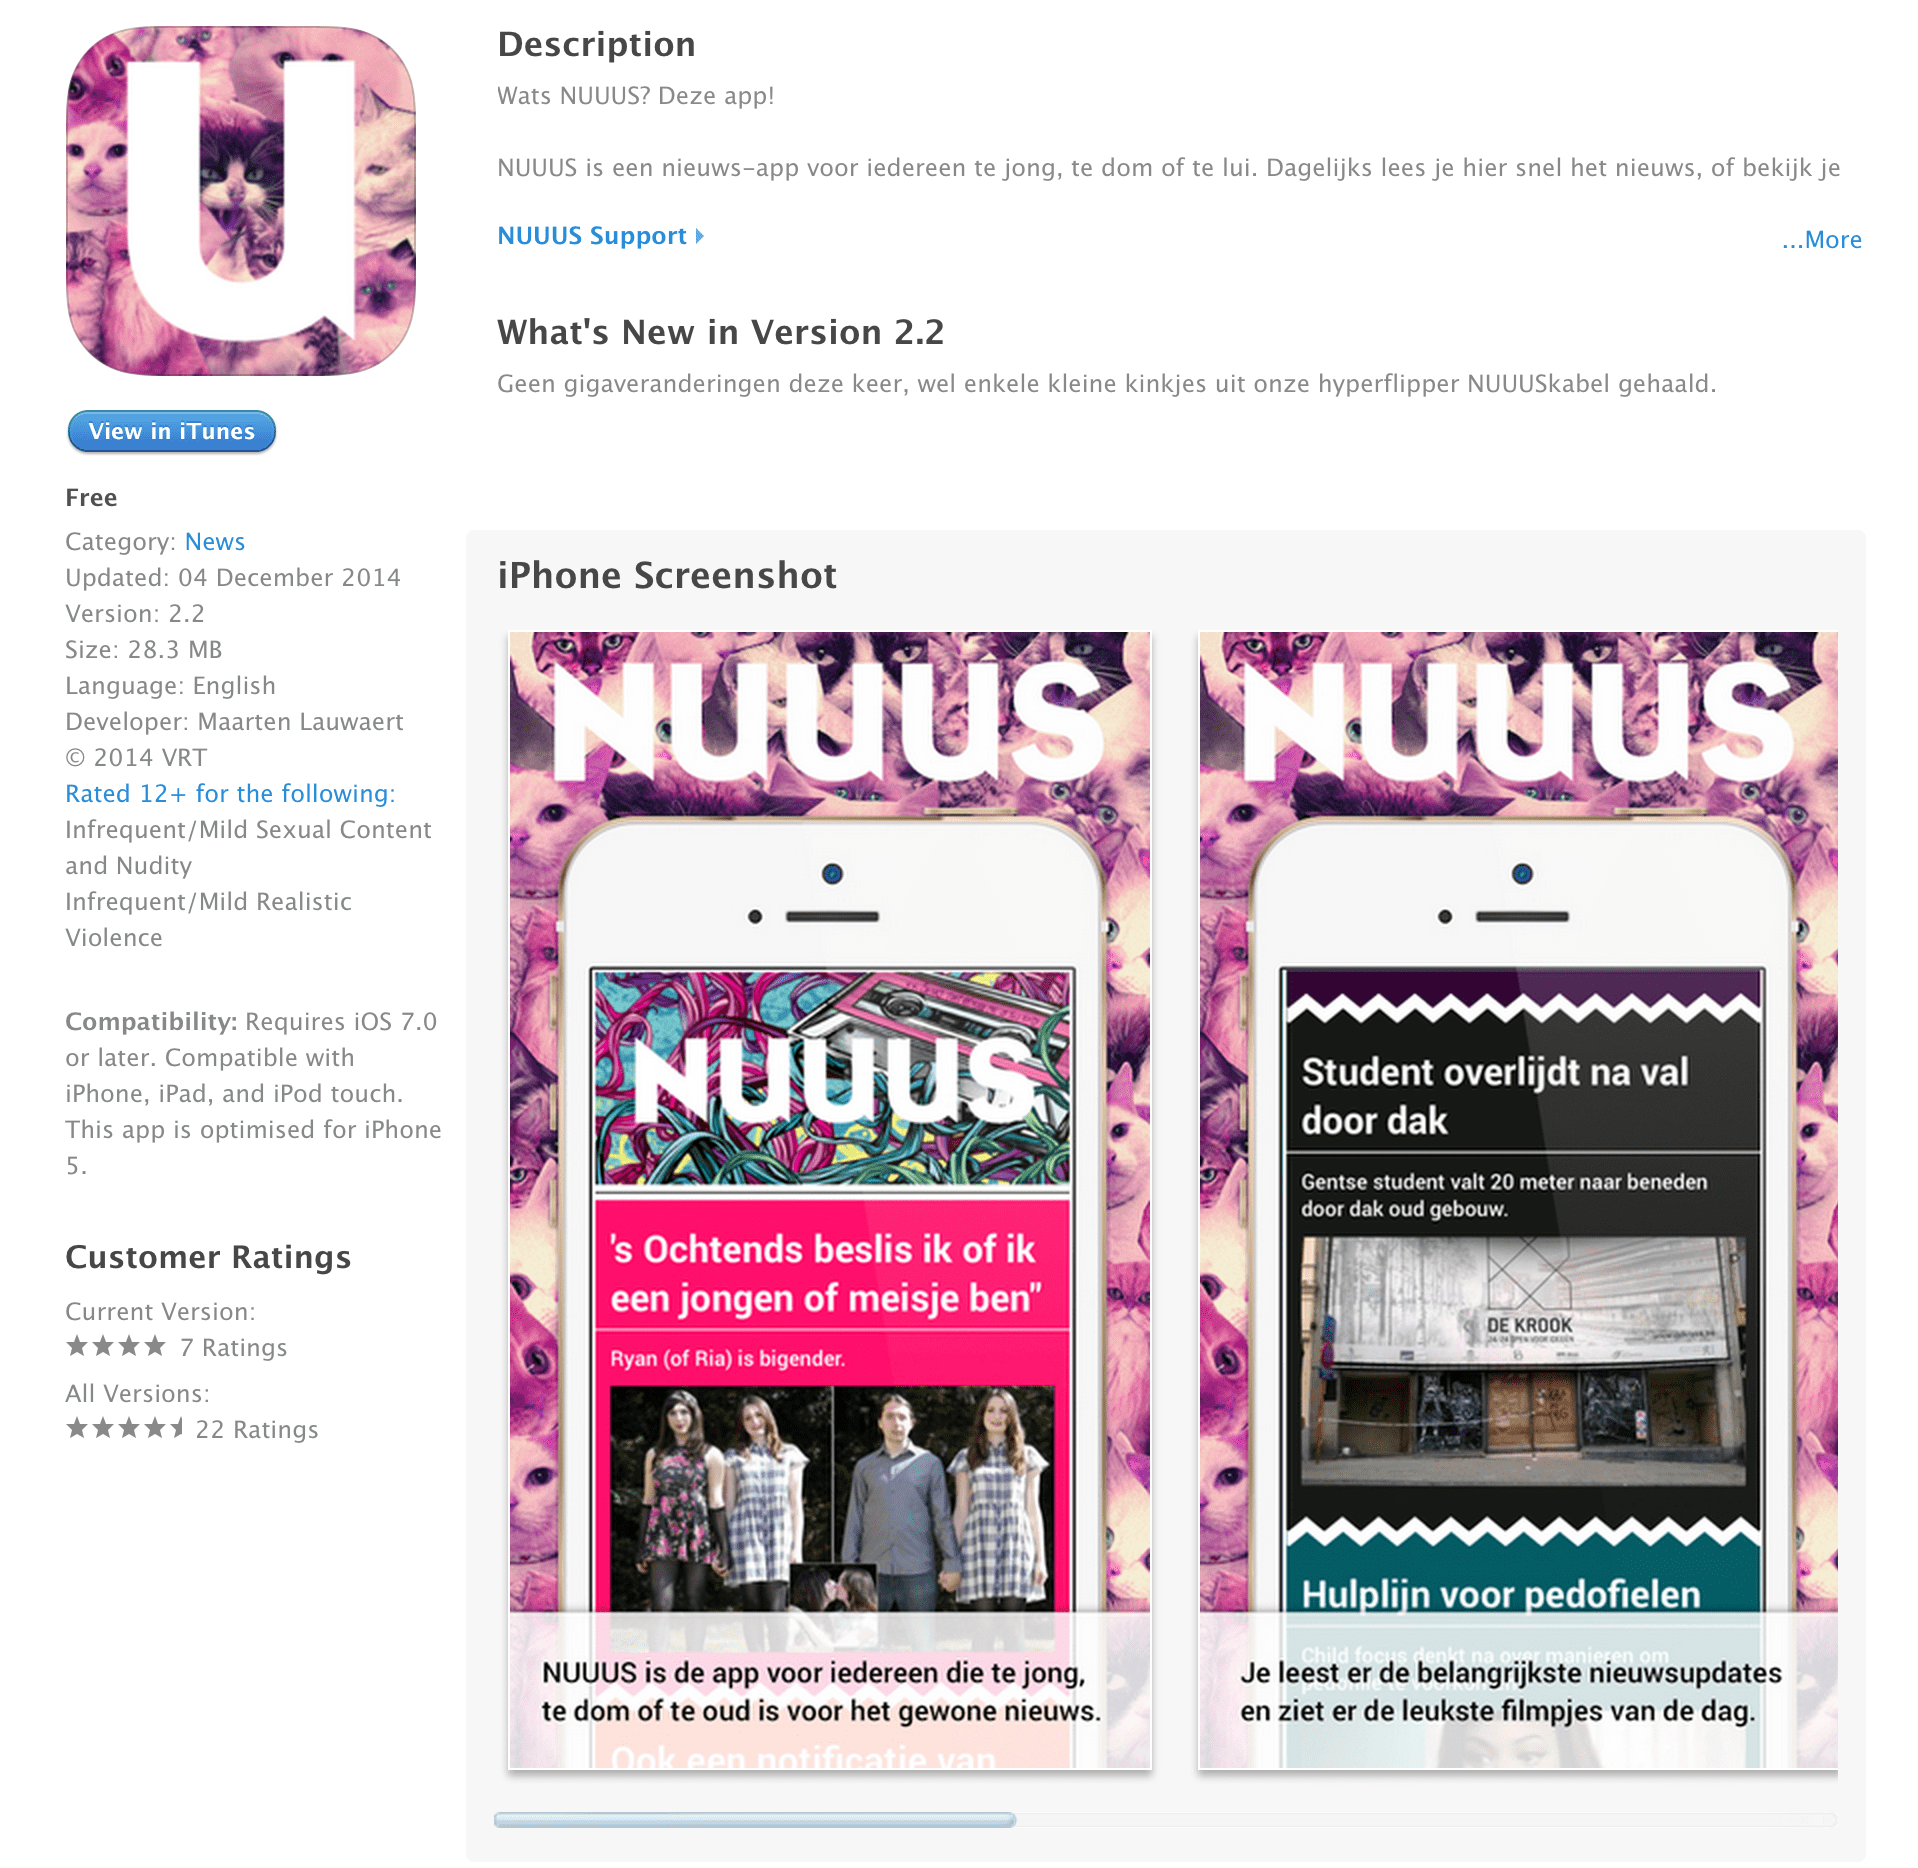
Based on the research, we decided a dedicated news app that feels completely different then the existing news outlets could be interesting. Or at least a good starting point. To not waste too much time or development efforts, we decided to create a “Smoke Screen”.
A smoke screen is a splash screen for a product that doesn’t exist. The simplest version of this is just taking one of the hundreds of marketing splash screens you can find on any template website, and just adjust the pictures and the copy to represent your “product”. Add an analytics tracker, and share or promote this page through the most relevant networks or target to the right audience. If you want to have more granular analytics, you can set up a engagement funnel. For example:
- Post your website on Facebook and target to a specific audience, so you can track the number of views and clicks.
- Add a video as a hero element on the webpage, and track how many people started watching the video, how many watched the video completely etc.
- Add a feature list below the fold, with a “read more”-button for every feature. Track which features get clicked the most, which one the least.
- Add a “Keep me posted” and / or a “`Become a beta tester” - sign up form, and track how many people inscribe.
Using these clearly defined steps of engagement, we can read out from the data where potential users drop off and how many of the targeted audience is actually interested in the product.
Step 2 bis: A teaser movie
Because we needed the attention of a younger audience, we decided a video would help spread our message more efficiently. We quickly (literally over night) created an After Effects clip, completely mocking the potential application. This clip isn’t amazing, we realized this. But it was good enough to get it out there, and that is more than adequate in this stage.
Watch out with “serial early adopters”. People who tend to sign up to anything that has a remote sense of being new. Nothing wrong with these people in general, they can become instrumental in a later stadium, but at this point they can skew your result. Keep your focus on your real target audience. Find a way to filter them out of the results.
Step 3: Test Community

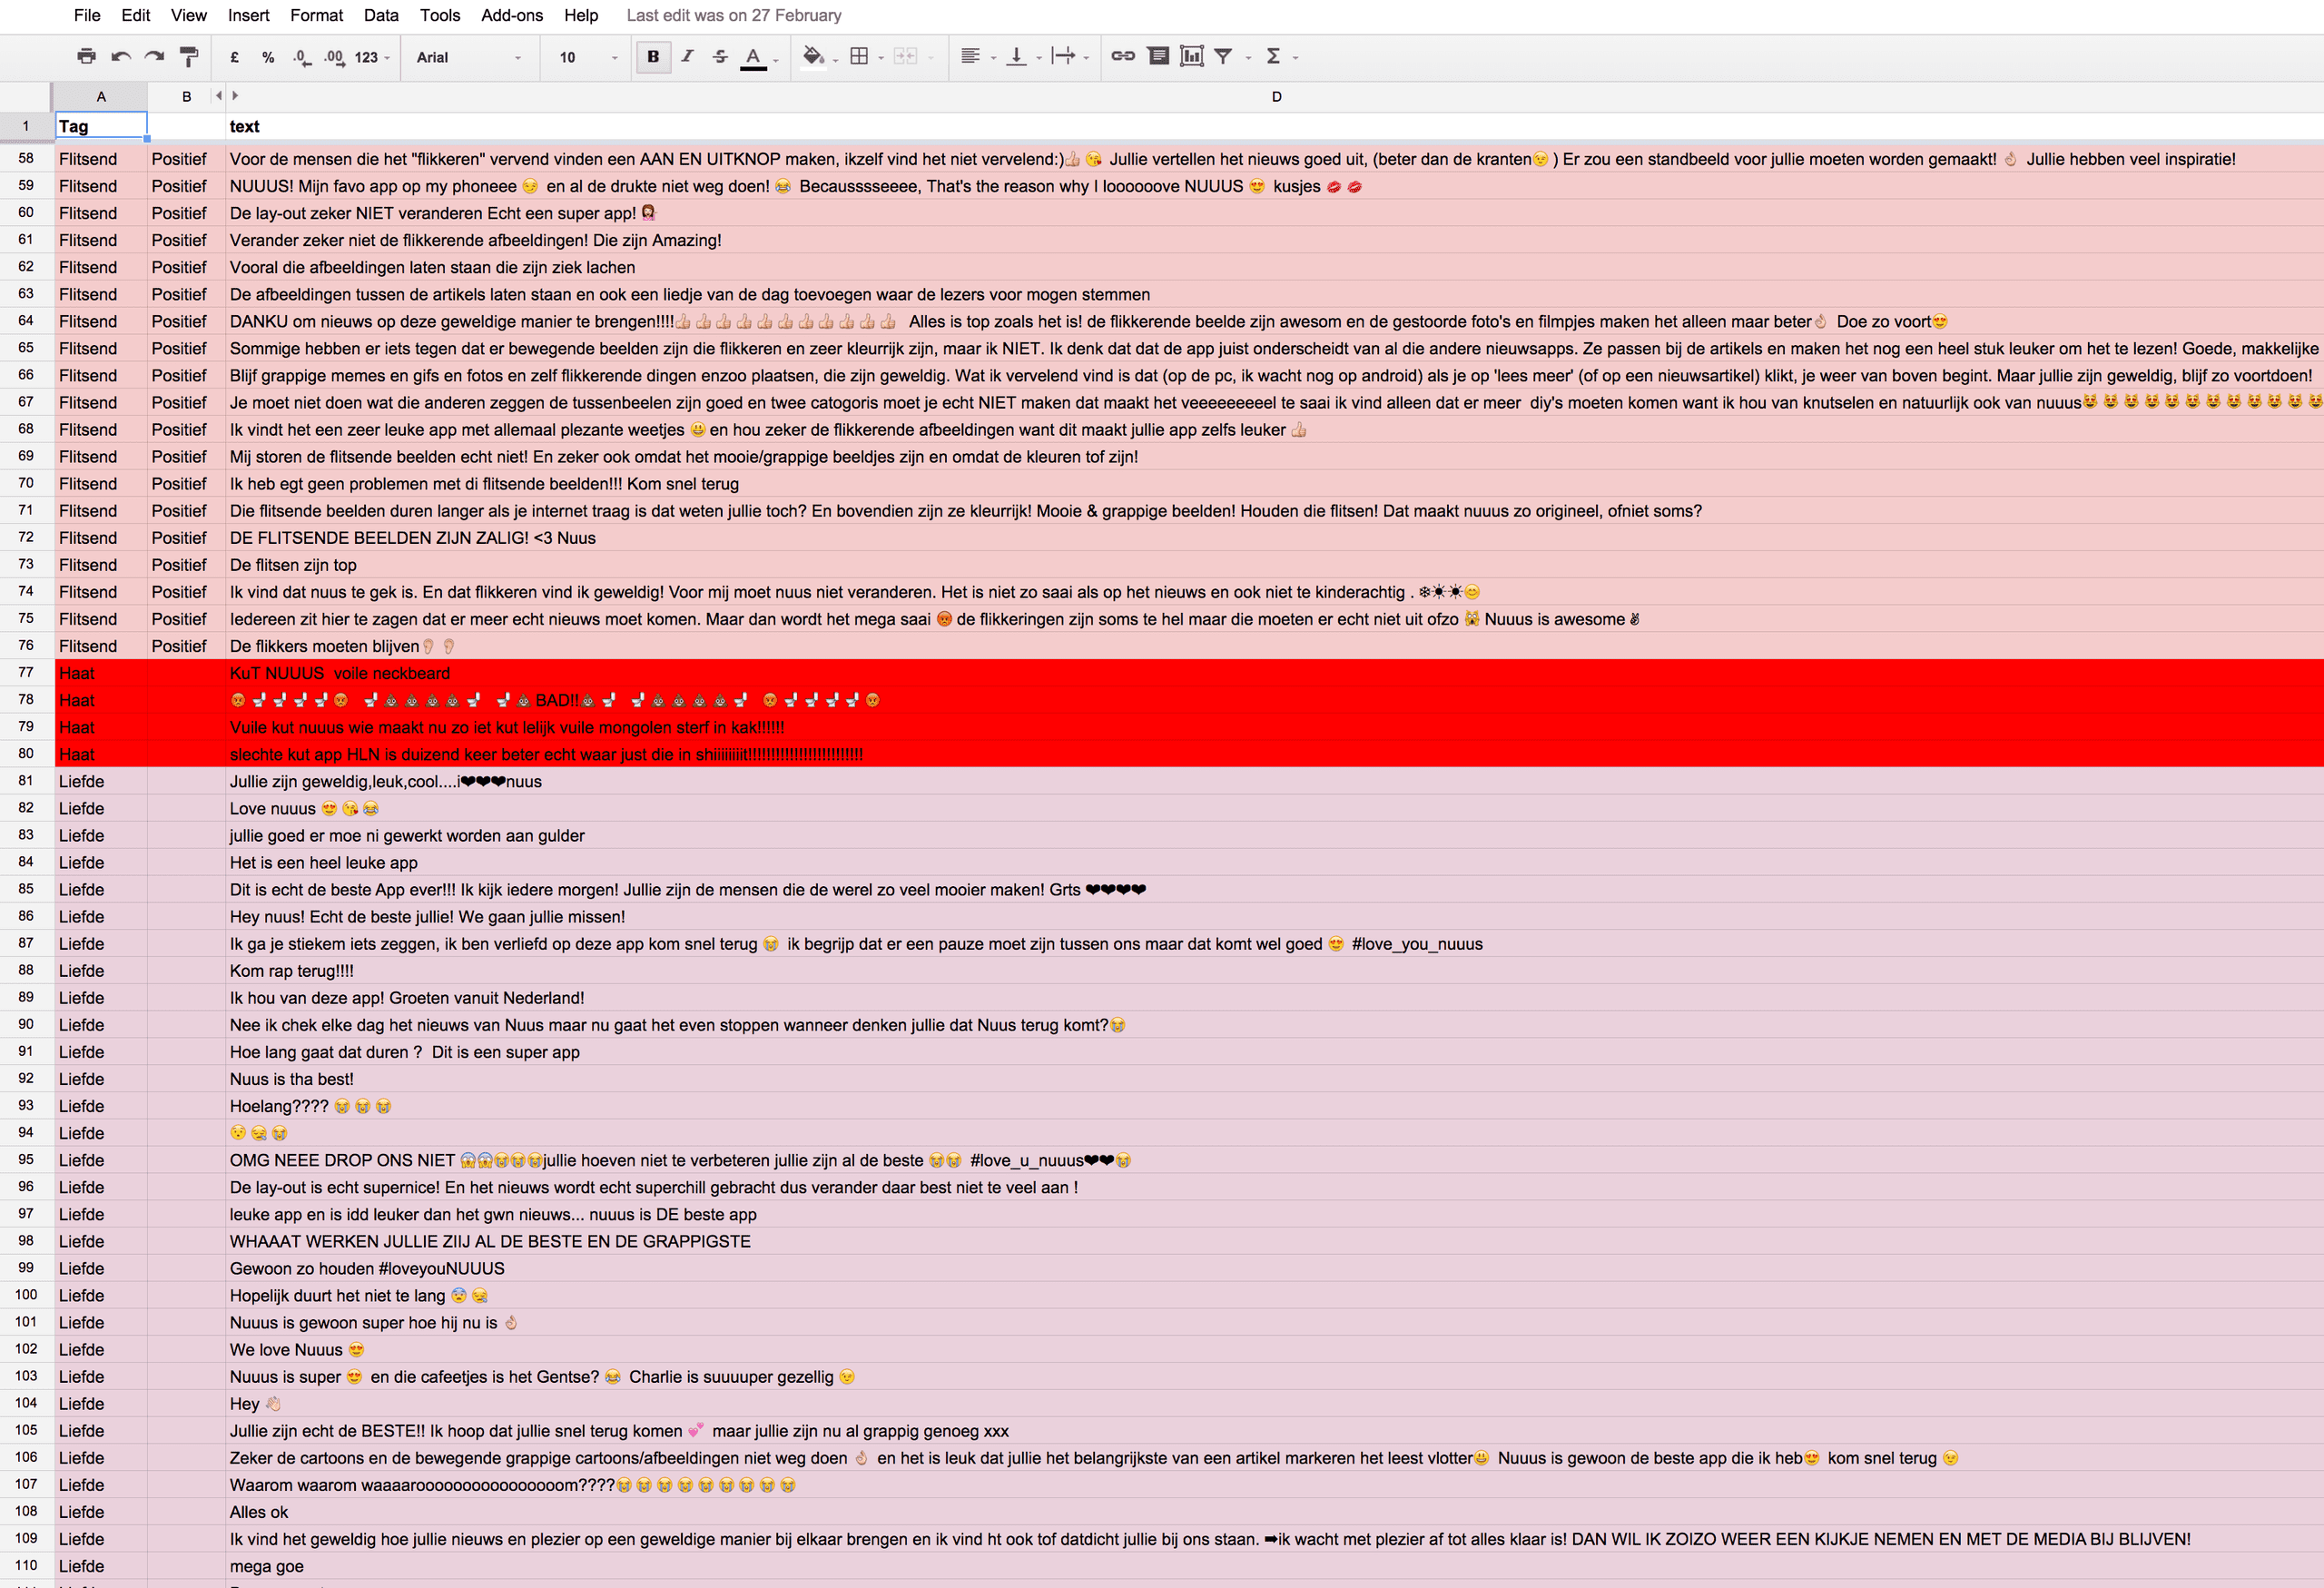
A few hundred people signed up through the beta test form on the smoke screen page. After weeding out the non-youngsters, we ended up with a bit more than a hundred potential users. We invited them to join a closed Facebook group we had set up, and explained what we were doing. We explained that the product in fact isn’t made yet, but that they can help us make it. From then on we started asking them daily questions about topics, news articles, writing styles, features, etc. Every time we doubted a decision, we asked them their opinion.
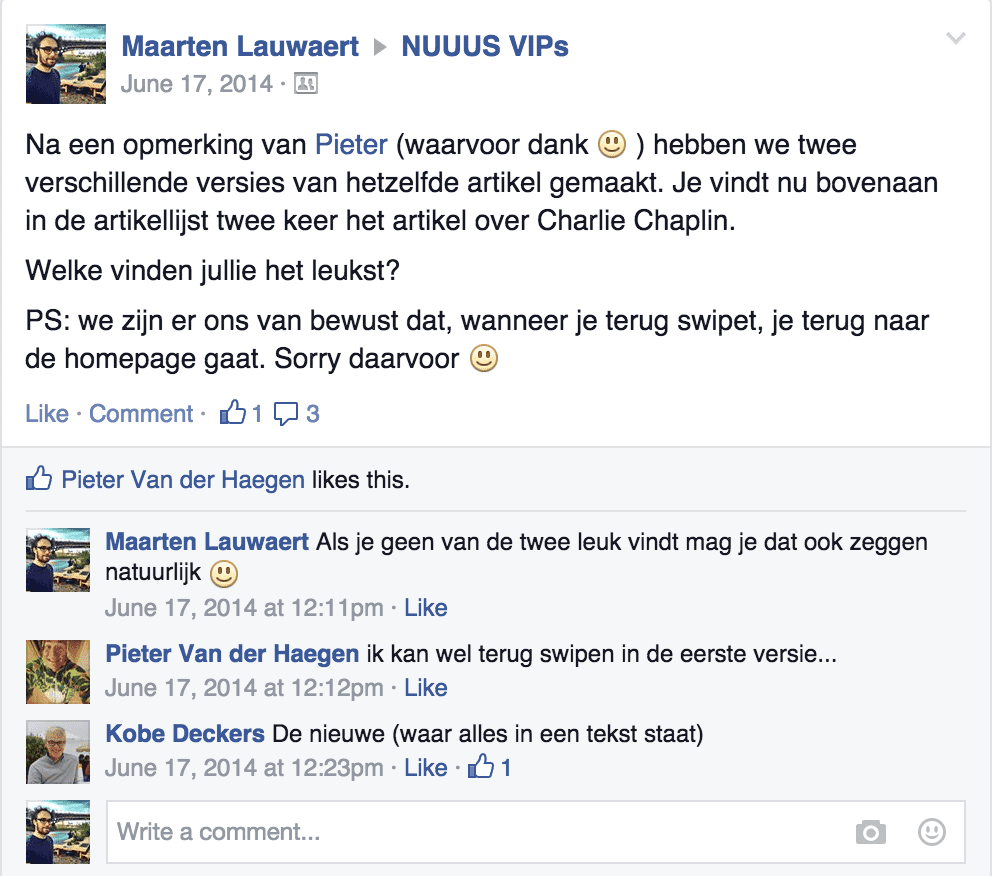
This screenshot is in dutch, sorry!
We created small HTML articles with a preliminary design, on which we iterated daily. They looked crappy and the styling was very hectic, but at least we had something to push in their hands, and get feedback on. The articles were coded and typed directly in pens in Codepen, so we didn’t loose too much time on working out a CMS.
Step 4: Prototype

Once we had an idea what the articles would look like, what the writing style should be and which topics to tackle, we decided to go a step further in the project proces. Using Ionic, Firebase and Angular JS, we set up a web app, that we could distribute as a native app on both Android and iOS store. The app was crappy, but did what it needed. Ionic wasn’t bad, even though it was early days for the Ionic team, we just didn’t put much TLC in the app. We could distribute our content, and could change content on the fly. Thanks to Firebase we could also add in interactive elements like polls or quizzes.
Step 5: MVP

After the prototype we defined the minimum amount of features we needed to be able to keep our users finding the app, and more importantly (especially for a news app), keep them coming back.
Two features were very important for us, and our audience: push notifications and video. Even though Ionic had the possibility to deliver this, we had some issues with both when testing the prototype. Because of this, we decided to get a native developer in, and make us a more reliable and capable codebase. We agreed upon an iOS app, because our test users mainly had iPhones. We later realized we should have gone for Android, as our bigger audience was more Android focussed.
We iterated on the app over the course of 4 months, mainly focussing on formats and context.
Step 6: Analysis & learnings

When the project was finished, we presented our results to the management boards. These findings where comprised of:
- technical insights
- everything we learned about creating news content for teenagers
- the feedback we received
- our metrics and KPI’s
Our learnings were interesting for the bigger organisation, so we decided to take different approaches to sharing our insights:
- We wrote all our findings down per topic in different Medium articles, easily shareable with the rest of the organization: https://medium.com/@NUUUS/
- We organised two big events where we presented our learnings, open to the whole organisation
- We set up small workshops per topic, so we could do more in depth presentations about specific topics.